The Installation Inspector: What Really Happens During Your EWI Transformation
No secrets. No surprises. Just the honest truth about the 2-week process.
You are considering External Wall Insulation (EWI) to transform your home's comfort and value. But let's be honest: the idea of a construction crew wrapping your house in insulation can be daunting. Will it be messy? Will it be noisy? Will it be done right?
We believe an educated client is a happy client.
Below, we walk you through the reality of a standard installation, day by day. We highlight the mess, the noise, and the technical details that separate a quality job from a "cowboy" disaster.
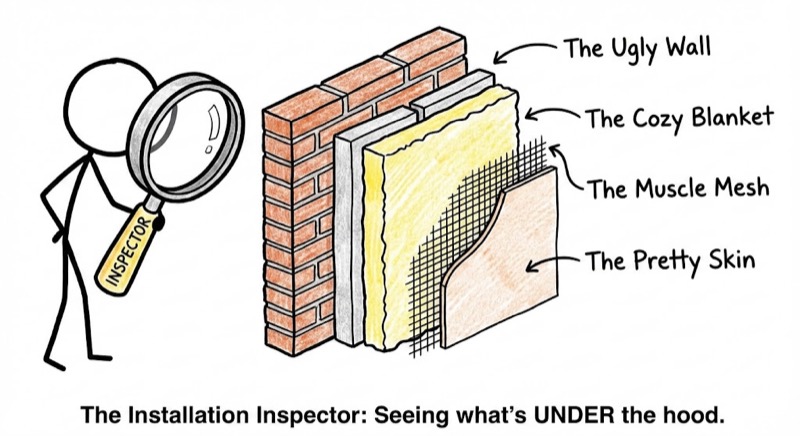
The Installation Inspector: Seeing what's UNDER the hood. Each layer has a critical purpose.
Use this guide to track progress on your own home. If your installer isn't following these steps, you have the right to ask why.
Prep & Protection (The "Mess" Management)
The Goal: Protecting your property before a single board is laid.
Many homeowners fear the mess. A professional team minimizes this immediately.
- Window Protection: All windows and doors are taped and covered with protective film.
- Ground Cover: Paths, driveways, and flowerbeds are covered to catch debris.
- The Gutters: Downpipes are temporarily removed or adjusted.
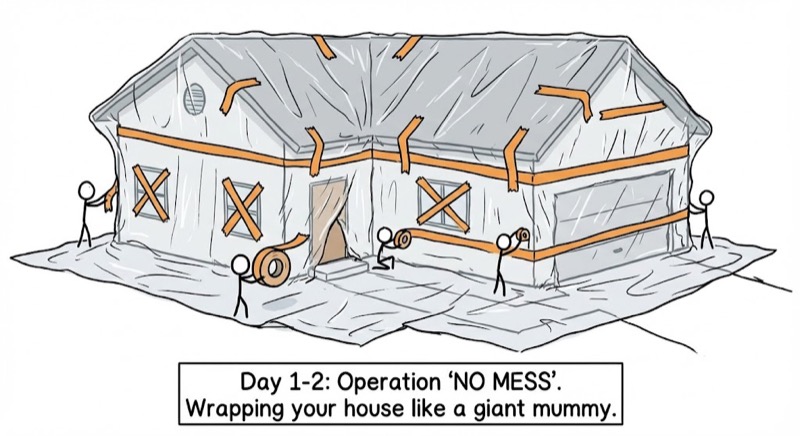
Operation 'NO MESS'. Wrapping your house like a giant mummy.
Boarding & The "Vermin Barrier"
The Goal: Creating the thermal envelope. This is where the house starts to change shape.
The Starter Track
Look at the bottom of the wall. Installers fix an aluminium "Starter Track." This levels the insulation, but crucially, it acts as a Vermin Barrier so rodents cannot climb up inside the insulation.
Staggering the Boards
The insulation boards are glued to the wall. Check point: Look at the pattern. They should be staggered like bricks (running bond), not stacked in straight lines.
Why Staggering Matters: Staggering distributes stress and prevents cracks from appearing in your render later.
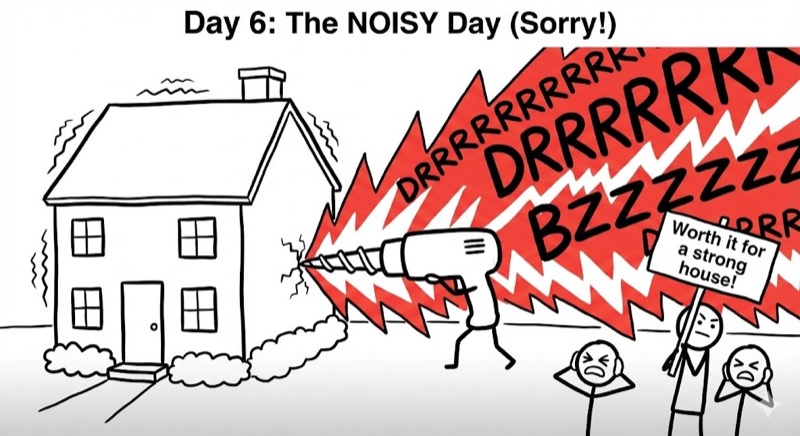
Worth it for a strong house!
Mechanical Fixings (The Noisy Day)
The Goal: Securing the system for decades.
We value honesty: This will be the noisiest day of the project.
Once the glue sets, installers drill holes through the boards into your masonry to insert mechanical fixings (dowels).
- The Reality: You will hear drilling for most of the day.
- The Benefit: This ensures the insulation creates a permanent bond with your home, withstanding high winds and structural shifts.
Base Coat & The "Muscle" Mesh
The Goal: Crack prevention and impact resistance.
The boards are now covered with a base coat render. Wet mortar is applied, and a Fiberglass Mesh is sunk into it.
The "Muscle"
Think of the mesh as the muscle of the system. It holds the render together.
The Overlap
Installers should overlap the mesh sheets by 100mm. If they don't, cracks will appear at the seams.
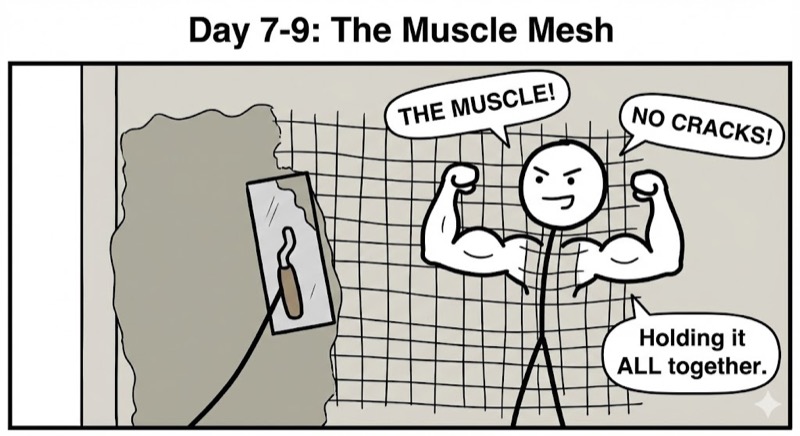
The Fiberglass Mesh is the hidden hero that stops cracks.
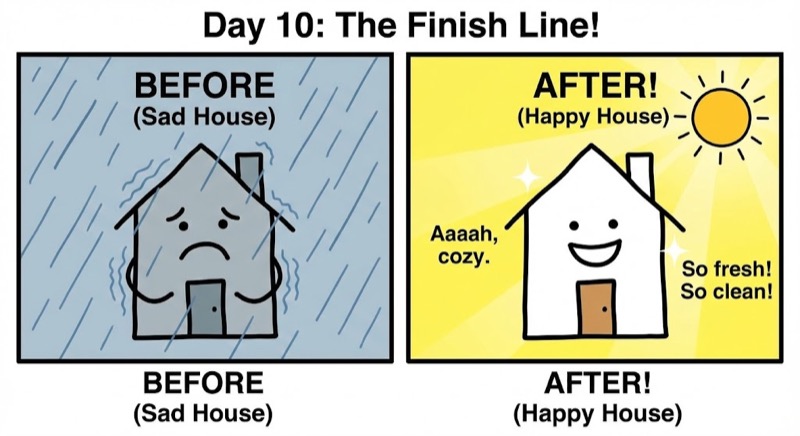
From sad house to happy house. The transformation is complete!
The Top Coat (The Finish Line)
The Goal: Weatherproofing and Curb Appeal.
The primer is applied, followed by the final Silicone or Acrylic render in the colour of your choice.
- Texture: The grain is floated to a consistent finish.
- Clean Up: Protection is removed, tape is peeled off, and the site is swept.
The "Cowboy" Checklist
Don't get caught out. Unfortunately, the construction industry has rogue traders.
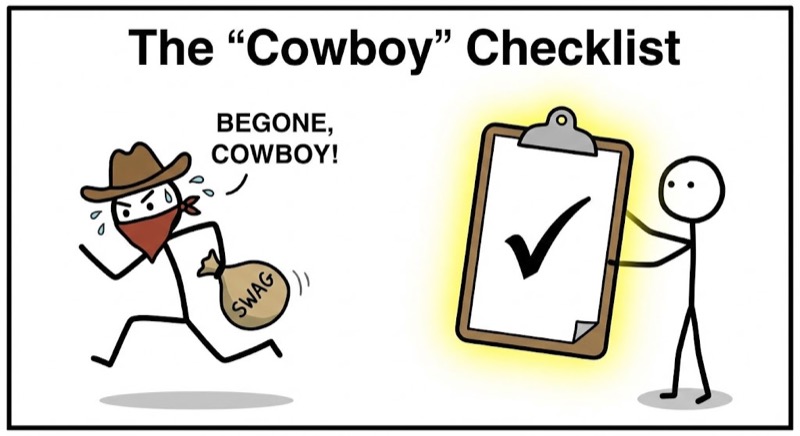
Print this checklist and use it when interviewing potential contractors. If they hesitate on any of these, walk away.
"Are you NSAI Registered?"
Correct Answer: YES (Ask for their ID number)
Only NSAI registered contractors can access SEAI grants for you.
"Which System do you use?"
Correct Answer: Baumit, Weber, KABE, or similar top tier.
You want a recognizable European brand with a track record.
"Do you mix components?"
Correct Answer: NO
Some builders use "Brand A" glue with "Brand B" render to save money. This voids your warranty immediately.
"How do you fix the boards?"
Correct Answer: "Adhesive AND Mechanical Fixings"
Glue alone is not enough. You need mechanical fixings (dowels).